
How to make a thumbnail for a video, step by step
Making a thumbnail from a video takes four steps in Advanced Thumbnailer. You set the design up once, so the second, tenth and hundredth thumbnail take no extra work.
Add your videos
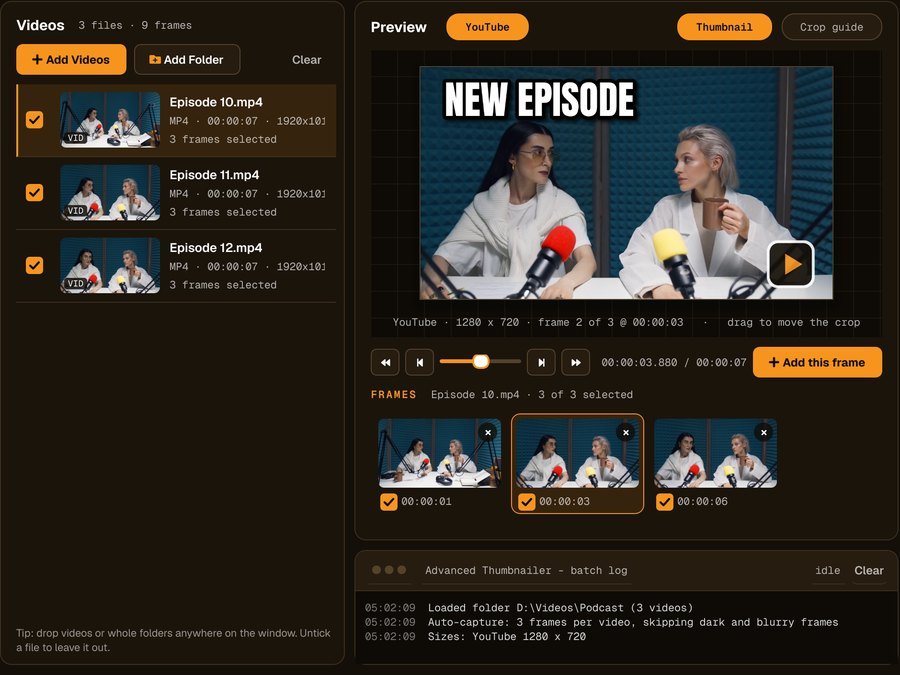
Drag a video file into the window, or click Add Folder to bring in a whole series. MP4, MOV, MKV, AVI, WMV, M4V, FLV and WebM files open directly, along with still images. Each video is listed with its length and resolution.
Choose the frame
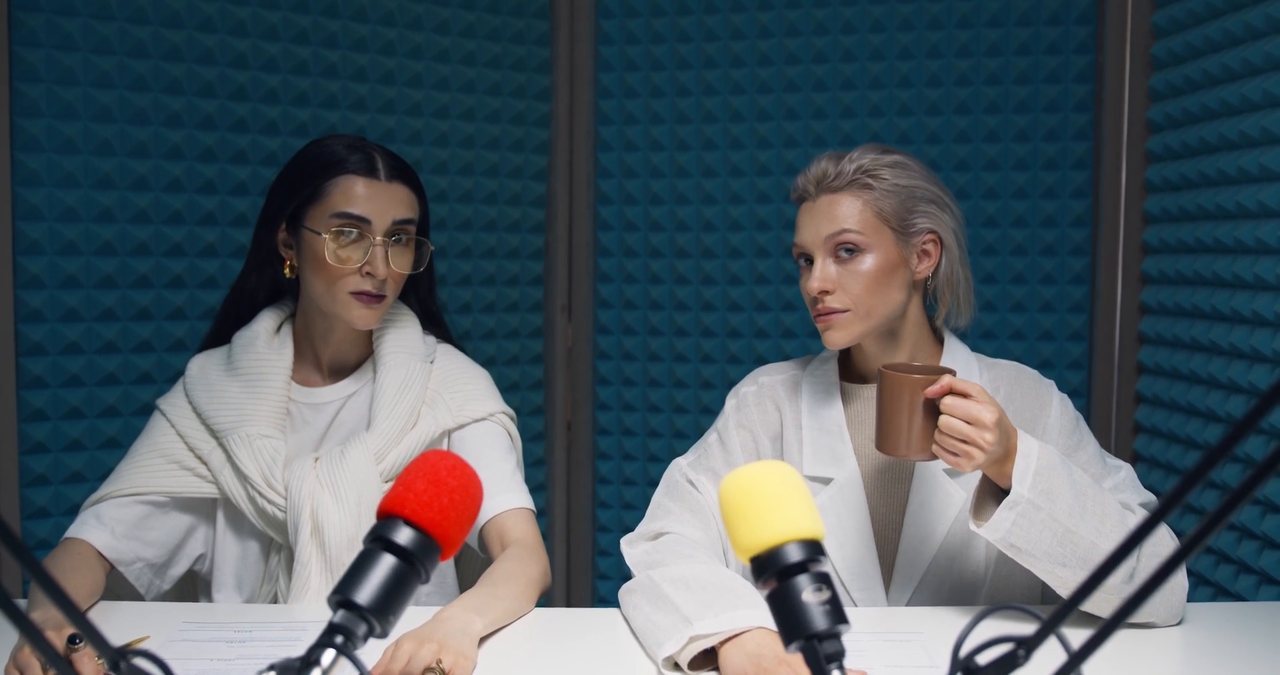
Drag the slider to the moment you want and click Add this frame. If you'd rather not hunt through every video, auto-capture takes a set number of evenly spaced frames, one every few seconds or one from the middle, and skips intros, end screens and dark or blurry shots.
A good thumbnail frame usually shows a face, a clear result or a single object, not a busy wide shot. Our guide on how to choose the best frame goes into more detail.
Add your title and logo
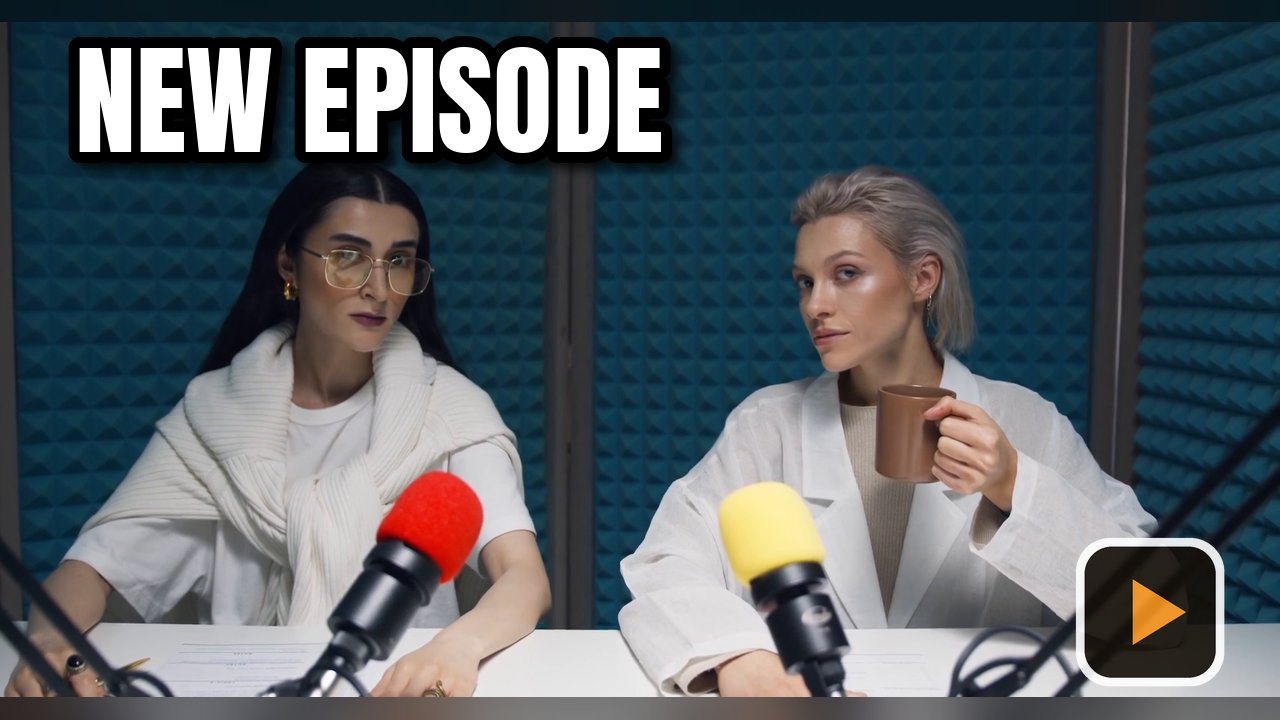
Type a short title, three to five words works best, and pick the font, size and colour. Turn on the heavy outline and drop shadow so it reads at small sizes, then place it in one of nine positions.
To add a logo to the thumbnail, choose your logo file once and set its size, position and opacity. The same logo appears on every thumbnail in the batch, and each video can still have its own title.
Tick the sizes and generate
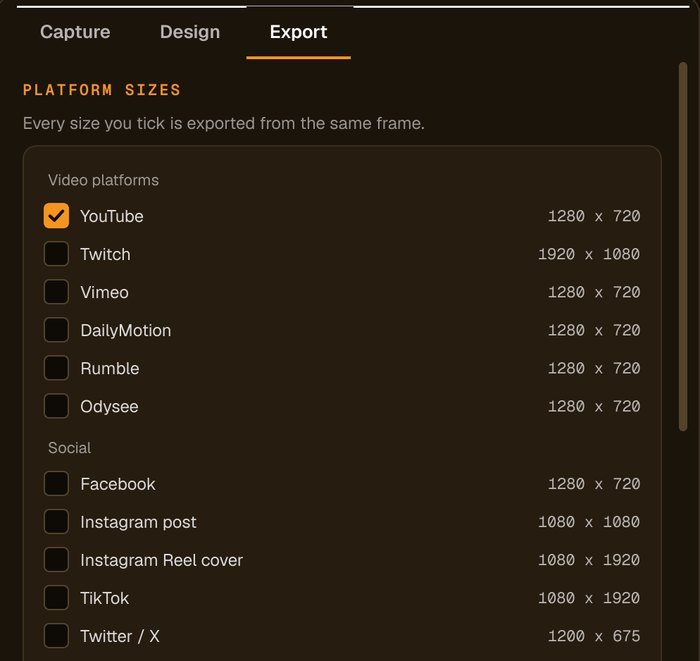
On the Export tab, tick each place you post: YouTube, Twitch, TikTok, Instagram, X, LinkedIn and the rest. The counter shows how many files the run will make, then Generate saves them all, named the way you chose, as JPG or PNG. Open Output Folder takes you straight to them.
Example: a weekly podcast
Say you publish three podcast episodes and want a YouTube thumbnail, a TikTok cover and an Instagram post for each. Add the three video files, let auto-capture pick a frame from each, type NEW EPISODE once as the batch title, tick the three sizes and click Generate. You get nine finished images, three per episode, each matching the last.
Next week, add the new files and do the same. The settings are still there.
Tips for better thumbnails
- Keep important things away from the bottom-right corner, where YouTube shows the video length. See the thumbnail safe area.
- Use a thick outline on light text over busy pictures. More in text outline on thumbnails.
- If a frame is too dark, lift the brightness rather than picking a worse moment. See brighten a dark thumbnail.
- For a series, keep the same font, colours and logo spot on every episode. See a thumbnail template for a series.
Ready to make your own? $29.95 one-time
Order Now »